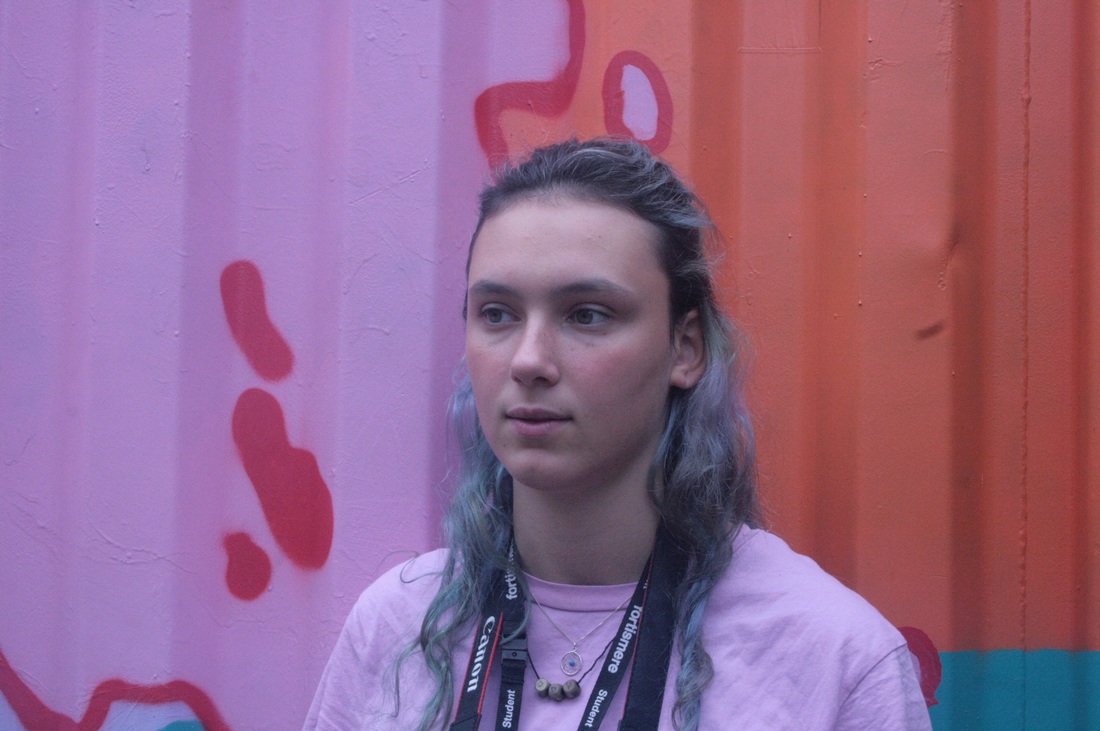
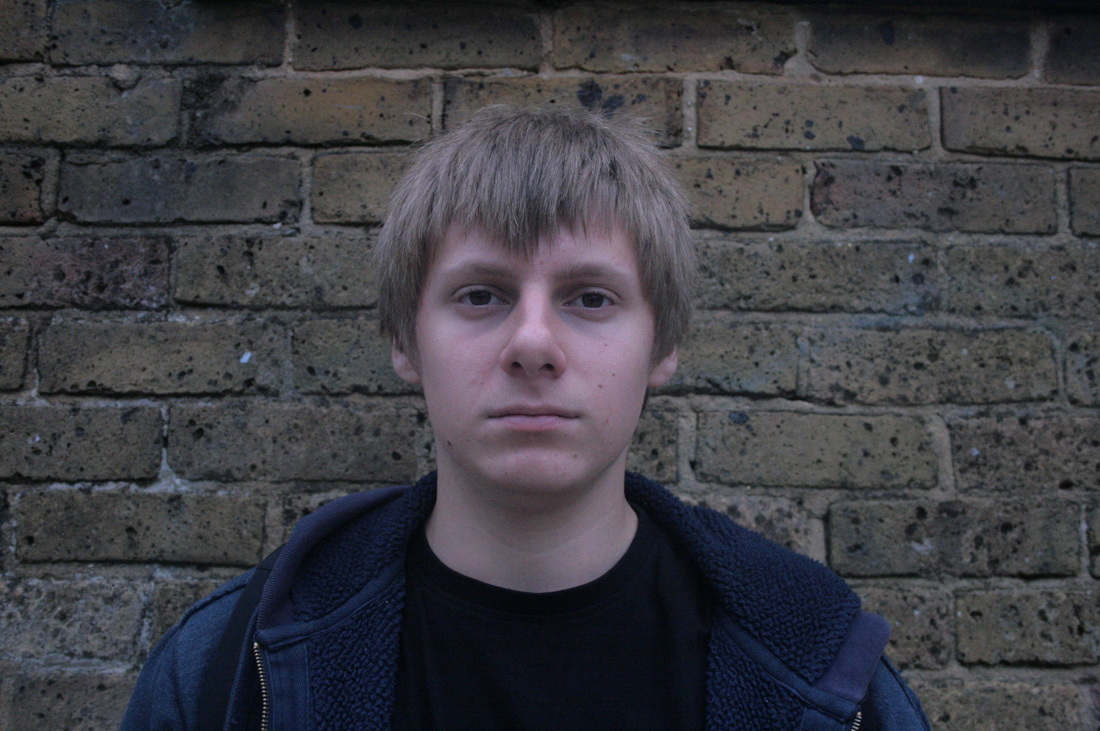
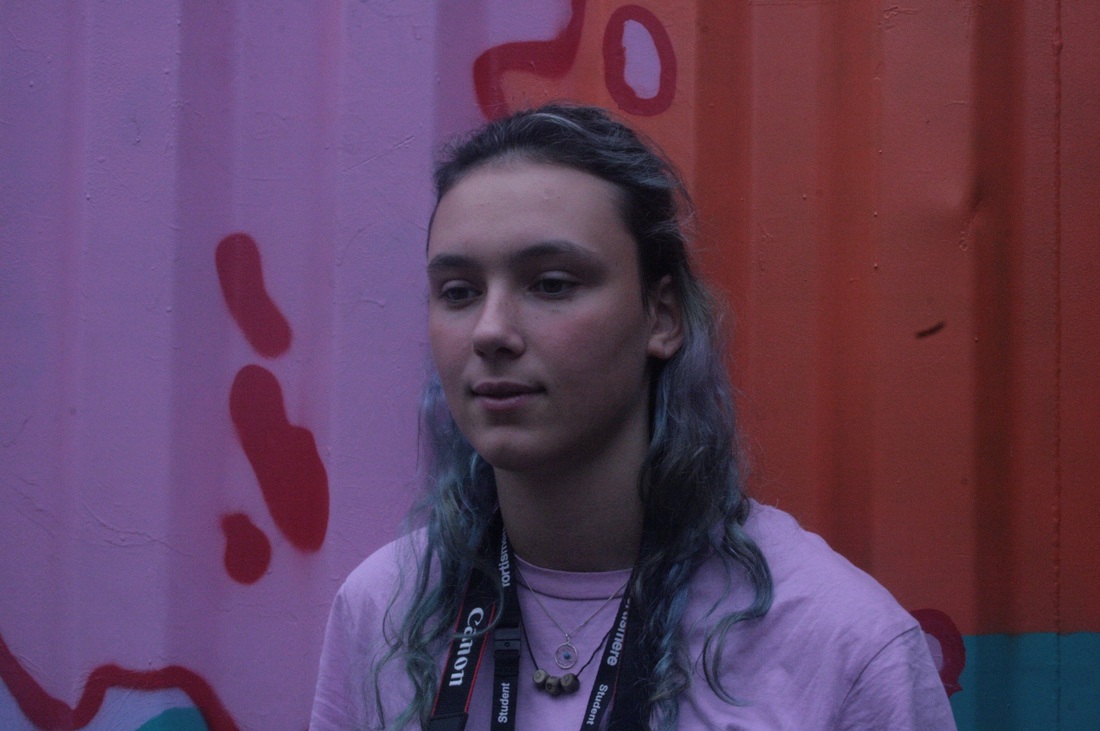
About me
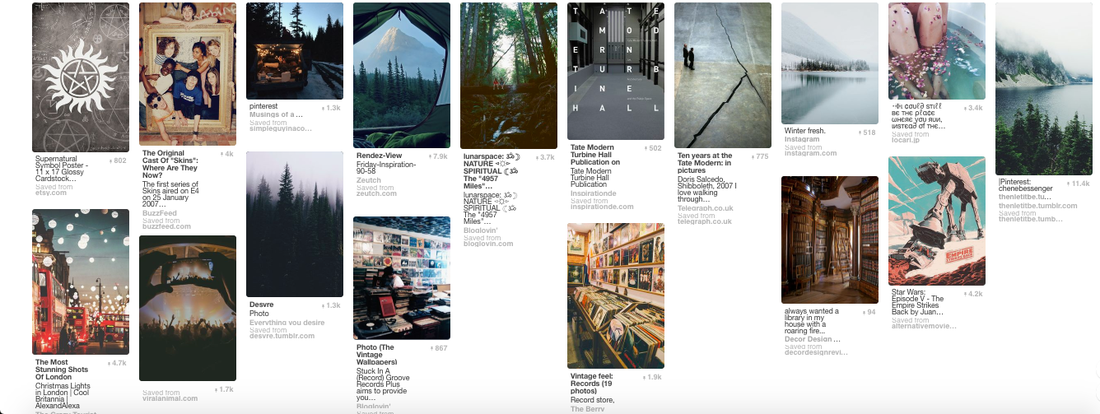
Pintrest Mindmap
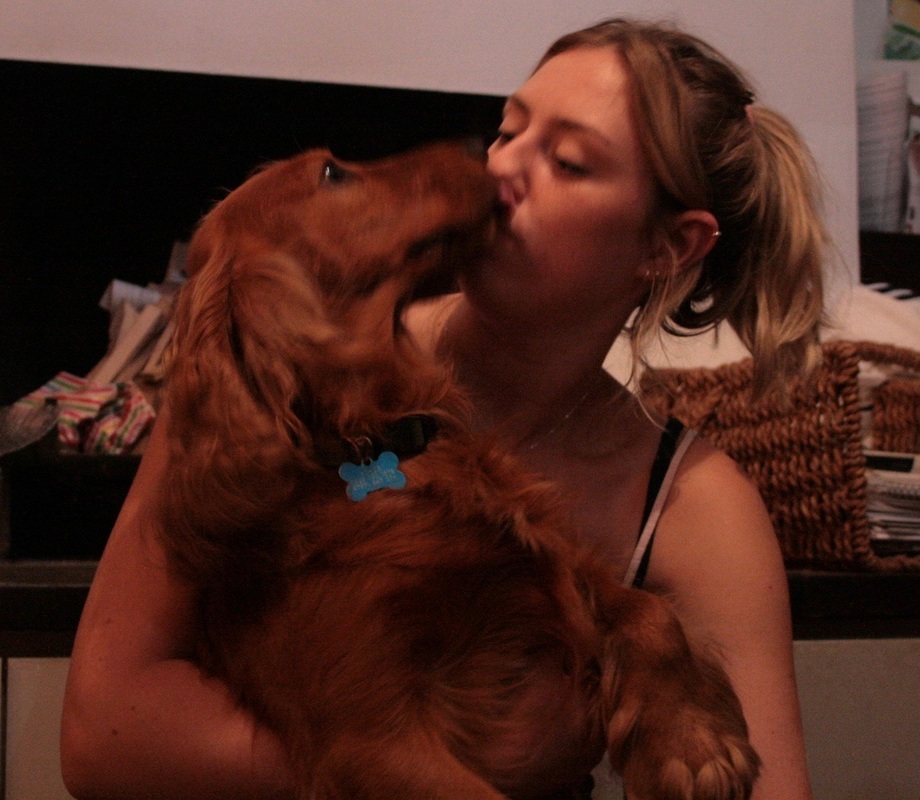
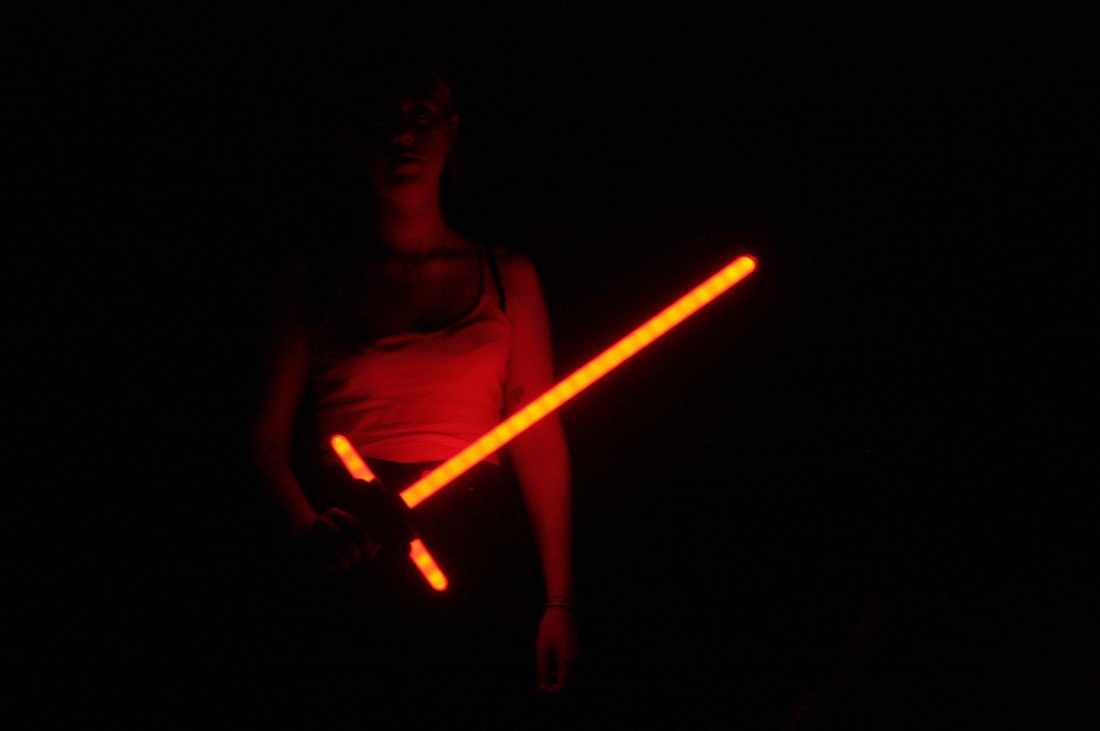
homework:10 photos about me

Homework:An early development of photography
The difference between the camera Obscura and a camera Lucida is that the camera Obscura is an optical device of which the image of a scene is reflected into the paper for an artist to then trace. Where as the camera Obscura is an optical device that projects a live image through a small pinhole into a darkened room. They were both used by Artist in the pursuit of realism by using the technique of tracing because the cameras were a reflection of a live image the artists found accuracy in the tracing.
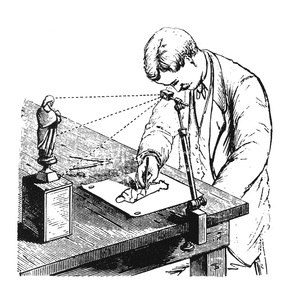
Example of a camera Lucida
|
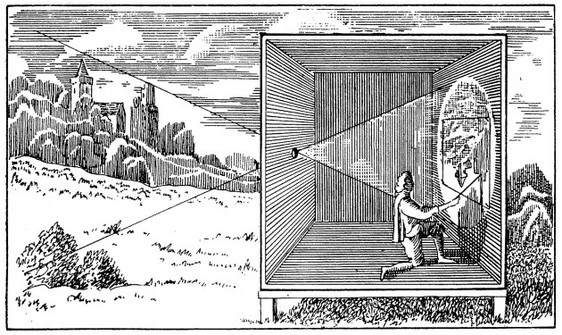
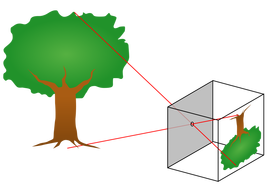
Example of a camera Obscura
|
The competition between France and England in photography started with Joseph Niépce. Niépce was successful in fixing the first projected view from outside his window. This lead Niépce and Louis Jacques Daguerre to work together in the final quest to fix the projected image. Then in 1839 Daguerre announced the invention of the Daguerreotype. Then in the competition started in 1844 when William Henry Fox Talbot developed another type of photograph called the Calotype. The Calotype had distinct advantage over the Daguerreotype this was that the Calotype could be reproduced as negative as opposed to being a single, Unduplicated image. Although the Calotype was better in terms of mass production it lacked the sharpness and overall quality that the Daguerreotype had. This meant that at the time the Daguerreotype was a popular favourite.

Joseph Niépce
|
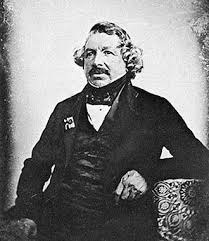
Louis Daguerre
|
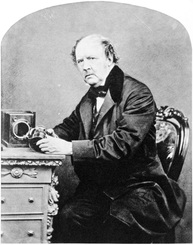
William Henry Fox Talbot
|
The industrial revolution plays a key role in the development in photography because the revolution brought along many new inventors to Europe because of the new manufacturing prowess. This is important tot the development of photography because these new inventors combined with access to new materials and chemicals meant the discovery of photography they also redefined peoples concept of art. The key members in photography during the industrial revolution are Niépce, Daguerre, James clerk Maxwell, Ferdinand Hurter and Charles Driffield.
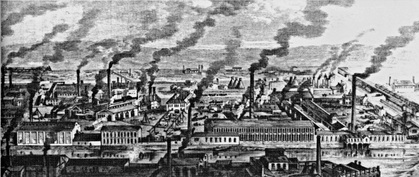
Artists drawing of the Industrial revolution
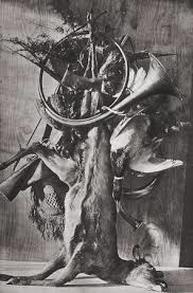
In early Photography the key themes of were very similar to the themes of oil paintings as they both explored Family portrates, Still life and landscape.
Valentin Gottfried - Hunt picture
|
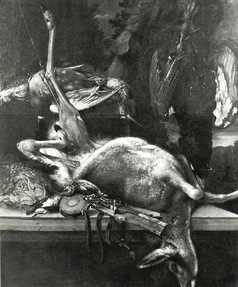
Adolphe Braun- Still life with Deer and Wildfowl
|
Artists responded to the development in photography in the 19th century in both a negative and positive mannort. For example artist Dominique de Font Réaulx titled a painting "Painting and Photography' The piece of art explains the story of how photography came to influence art.

Dominique de Font Réaulx- Painting and Photography
Photograms
Lesson one: The darkroom
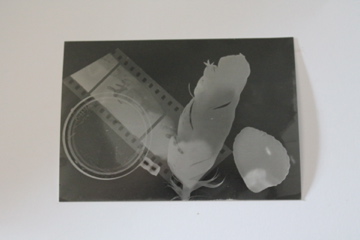
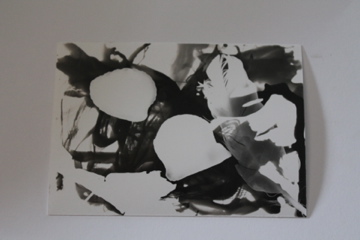
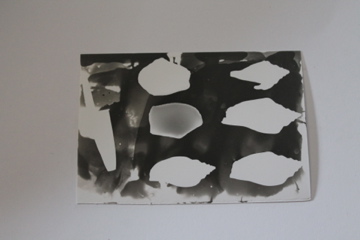
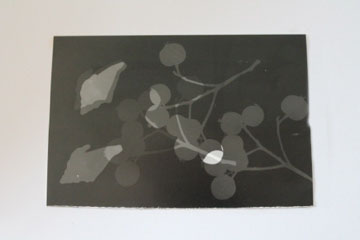
These images are an example of Photograms created in a dark room. In this lesson I learnt how to create and develop a photogram using equipment such as and Enlarger, a Timer and many chemicals. There are different techniques you can you when creating photograms for example,
Solarisation : Solarisation is when once you have exposed your light sensitive paper to the enlarger you put the image in the developer until you can start to see the image showing up. You then take the image out and re-expose it to light. This creates an affect of which dark areas appear lighter and light areas appear darker.
Solarisation : Solarisation is when once you have exposed your light sensitive paper to the enlarger you put the image in the developer until you can start to see the image showing up. You then take the image out and re-expose it to light. This creates an affect of which dark areas appear lighter and light areas appear darker.
|

|
Painting on Developer : Painting on developer is when instead of letting the image soak in the developing chemicals you use a paintbrush and paint over the image with the chemicals. This creates an affect of certain patches of dark colours and light colours.
|
|
Moving an object : This technique involves moving images around whilst exposing the image. To create this affect you must expose light on to your image then turn the light off then move your images and expose light again repoeat this process 3 or more times to create a moving object photogram.
|

|
Pinhole camera
|
Created by Alhazen the Pinhole Camera uses a small hole to capture light in a box which then shows up on photographic paper once developed. At the time the image would show up upside down.
|
Lesson two: Digital slr
A digital single-lens reflex Camera is a digital camera that combines the optics and the mechanisms of a single-lens reflex camera with a digital imaging sensor, as opposed to photographic film.
Aperture- In photography Aperture is a setting on a SLR Camera which decides the amount of light exposed though the lens. Normally on a camera the setting will be shows as AV and aperture F. These images are an example of experimenting with aperture on a DSLR Camera. The images show different amount of lights being let in for example the lighter images show there is not enough light getting in or in other words the aperture setting is low and same goes for the darker images as it shows that too much light is getting in or the aperture setting is too high.

|
|
|
Shutter speed- Shutter speed determines the time of exposure. If you have a long shutter speed for example 3 second your image will capture every movement made by the subject in the 3 seconds it will most likely be blurred. Whereas if you have a shot shutter speed for example 1/5th of a second the photo will freeze the movement.
Lesson 3: Contact sheets
For photographers contact sheets are important as they show development of a story. A contact sheet is normally composed of 24 images taken separately but put together on one sheet. The format is useful as the photographer can look at the series of images and decide which image is the best.
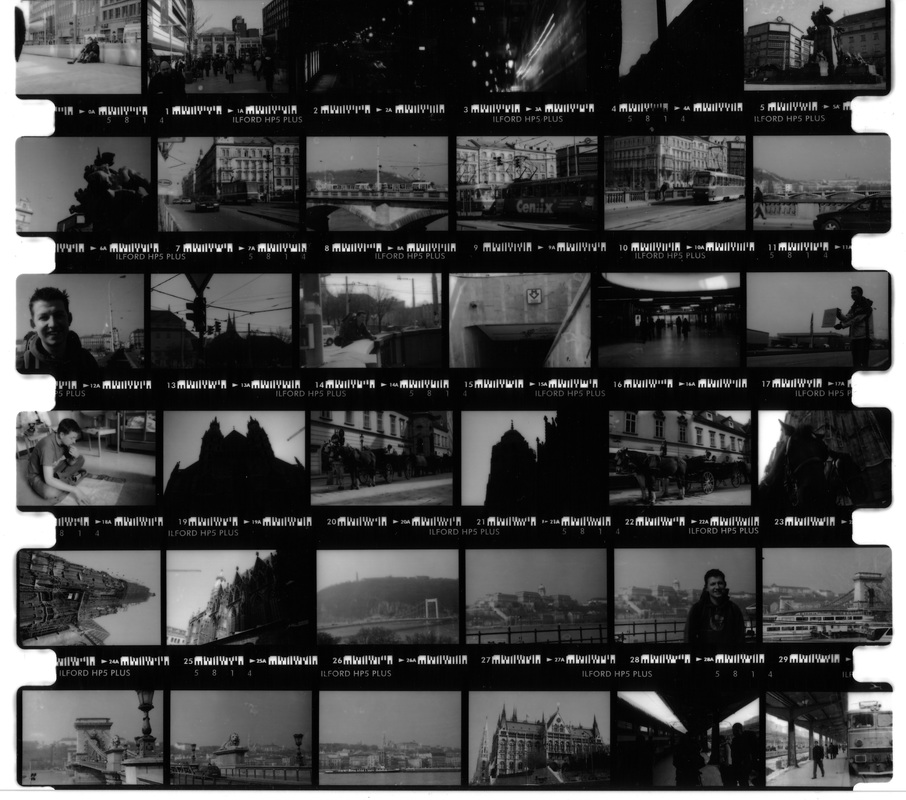
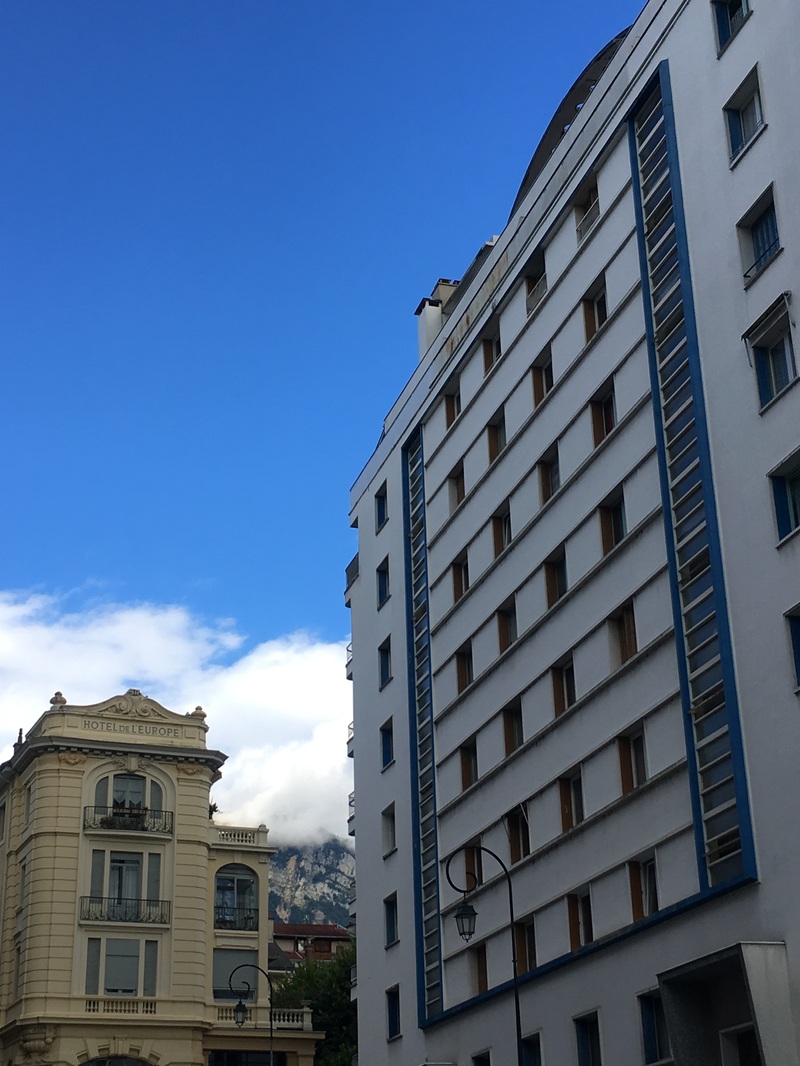
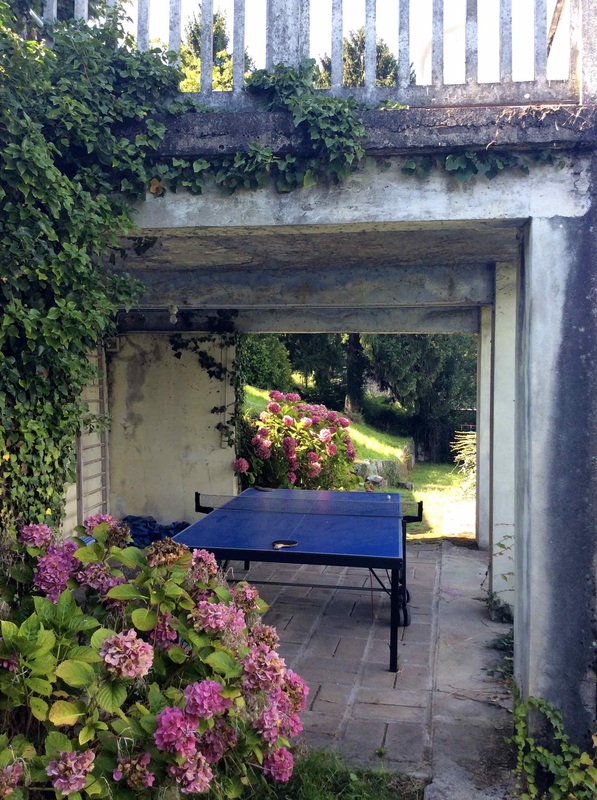
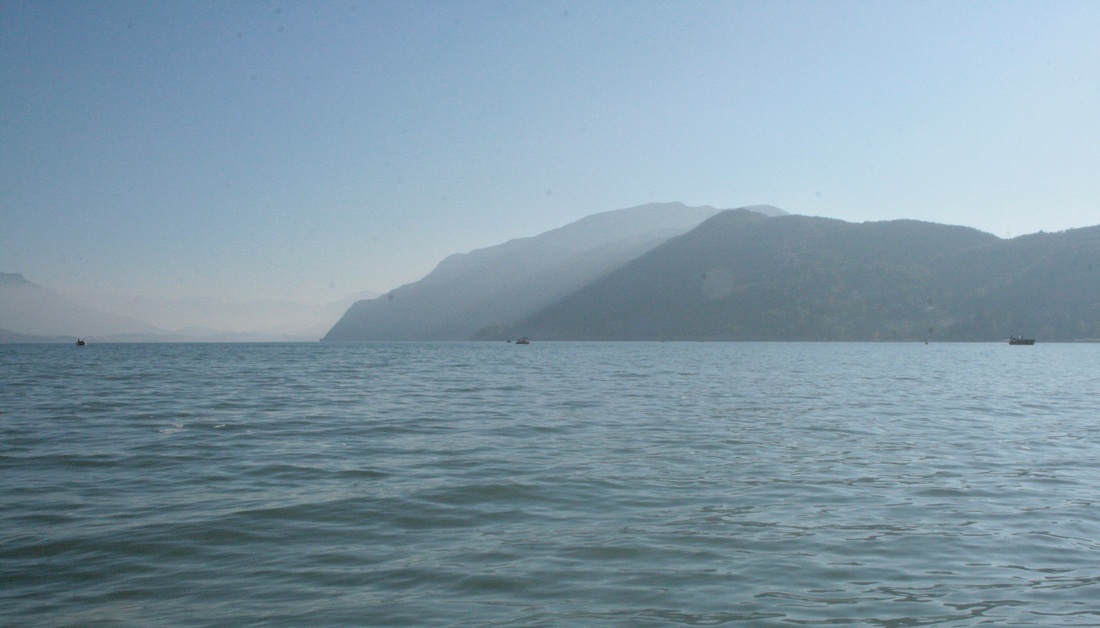
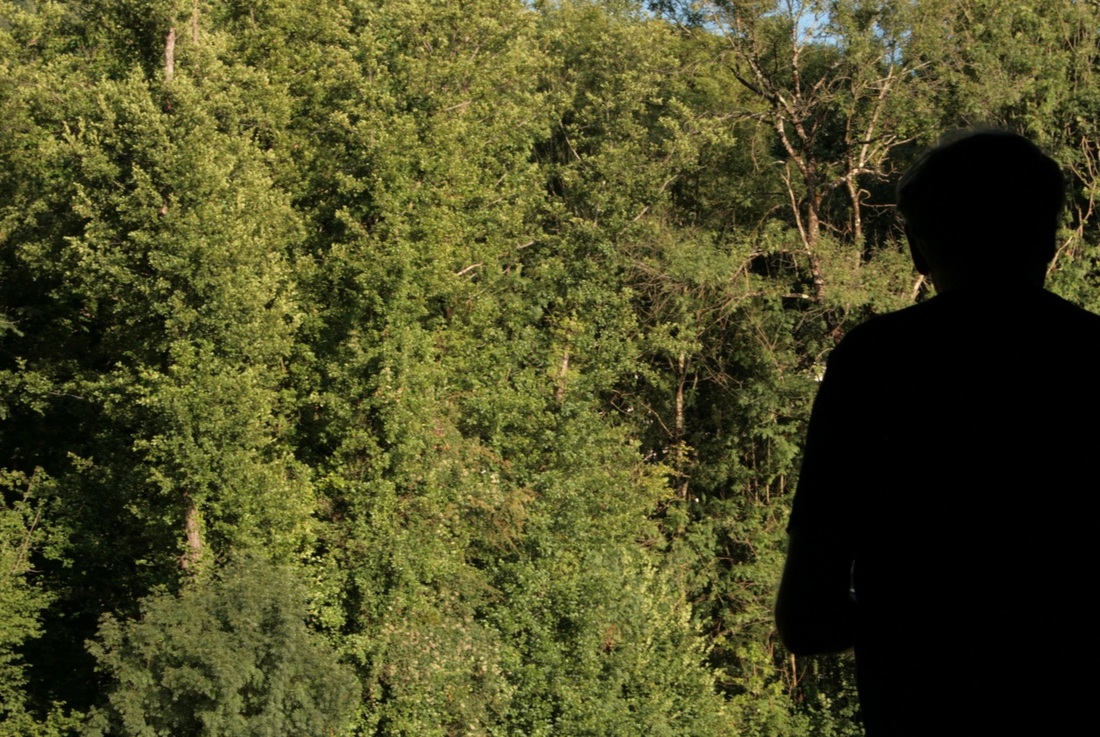
Contact sheet of photos taken whilst travelling across Europe on the way to Bucharest. Taken by Phill Moore in 2005
Lesson 4: Developing film
Step 1- Put the film onto a spool.
Step 2-Put your film into a sealed blacked out container.
Step 3- Work out your ratio of developer to water (In this case 1:9 ...... )
Step 4- Pour in the developer into the blacked out container and leave it in there for 9 minutes and 25 seconds but make sure to shake the box every minuet to make sure the film is coated in developer after shaking you must tap the container to get rid of the air bubble.
Step 5- After the 9 minutes and 25 seconds pour the developer out add in fixer (same ratios) for 2 mins also shaking and tapping the container every minuet.
Step 6- Pour the fixer back into the mixture then put in the stop (same ratio) for 6 minutes also shaking and tapping every minute. Once the 6 minuets are over pour out the stop.
Step 7- Rinse the film in cold water.
My film contact sheet
Reference to William Kleine
When enlarging an image you must choose your prefered photo and then you take the contact sheet into he enlargement
